Blog
Exterior Painting for Custom Homes in NC: Prep, Coats, and What Makes a Finish Last
Published
Category
Construction Guides
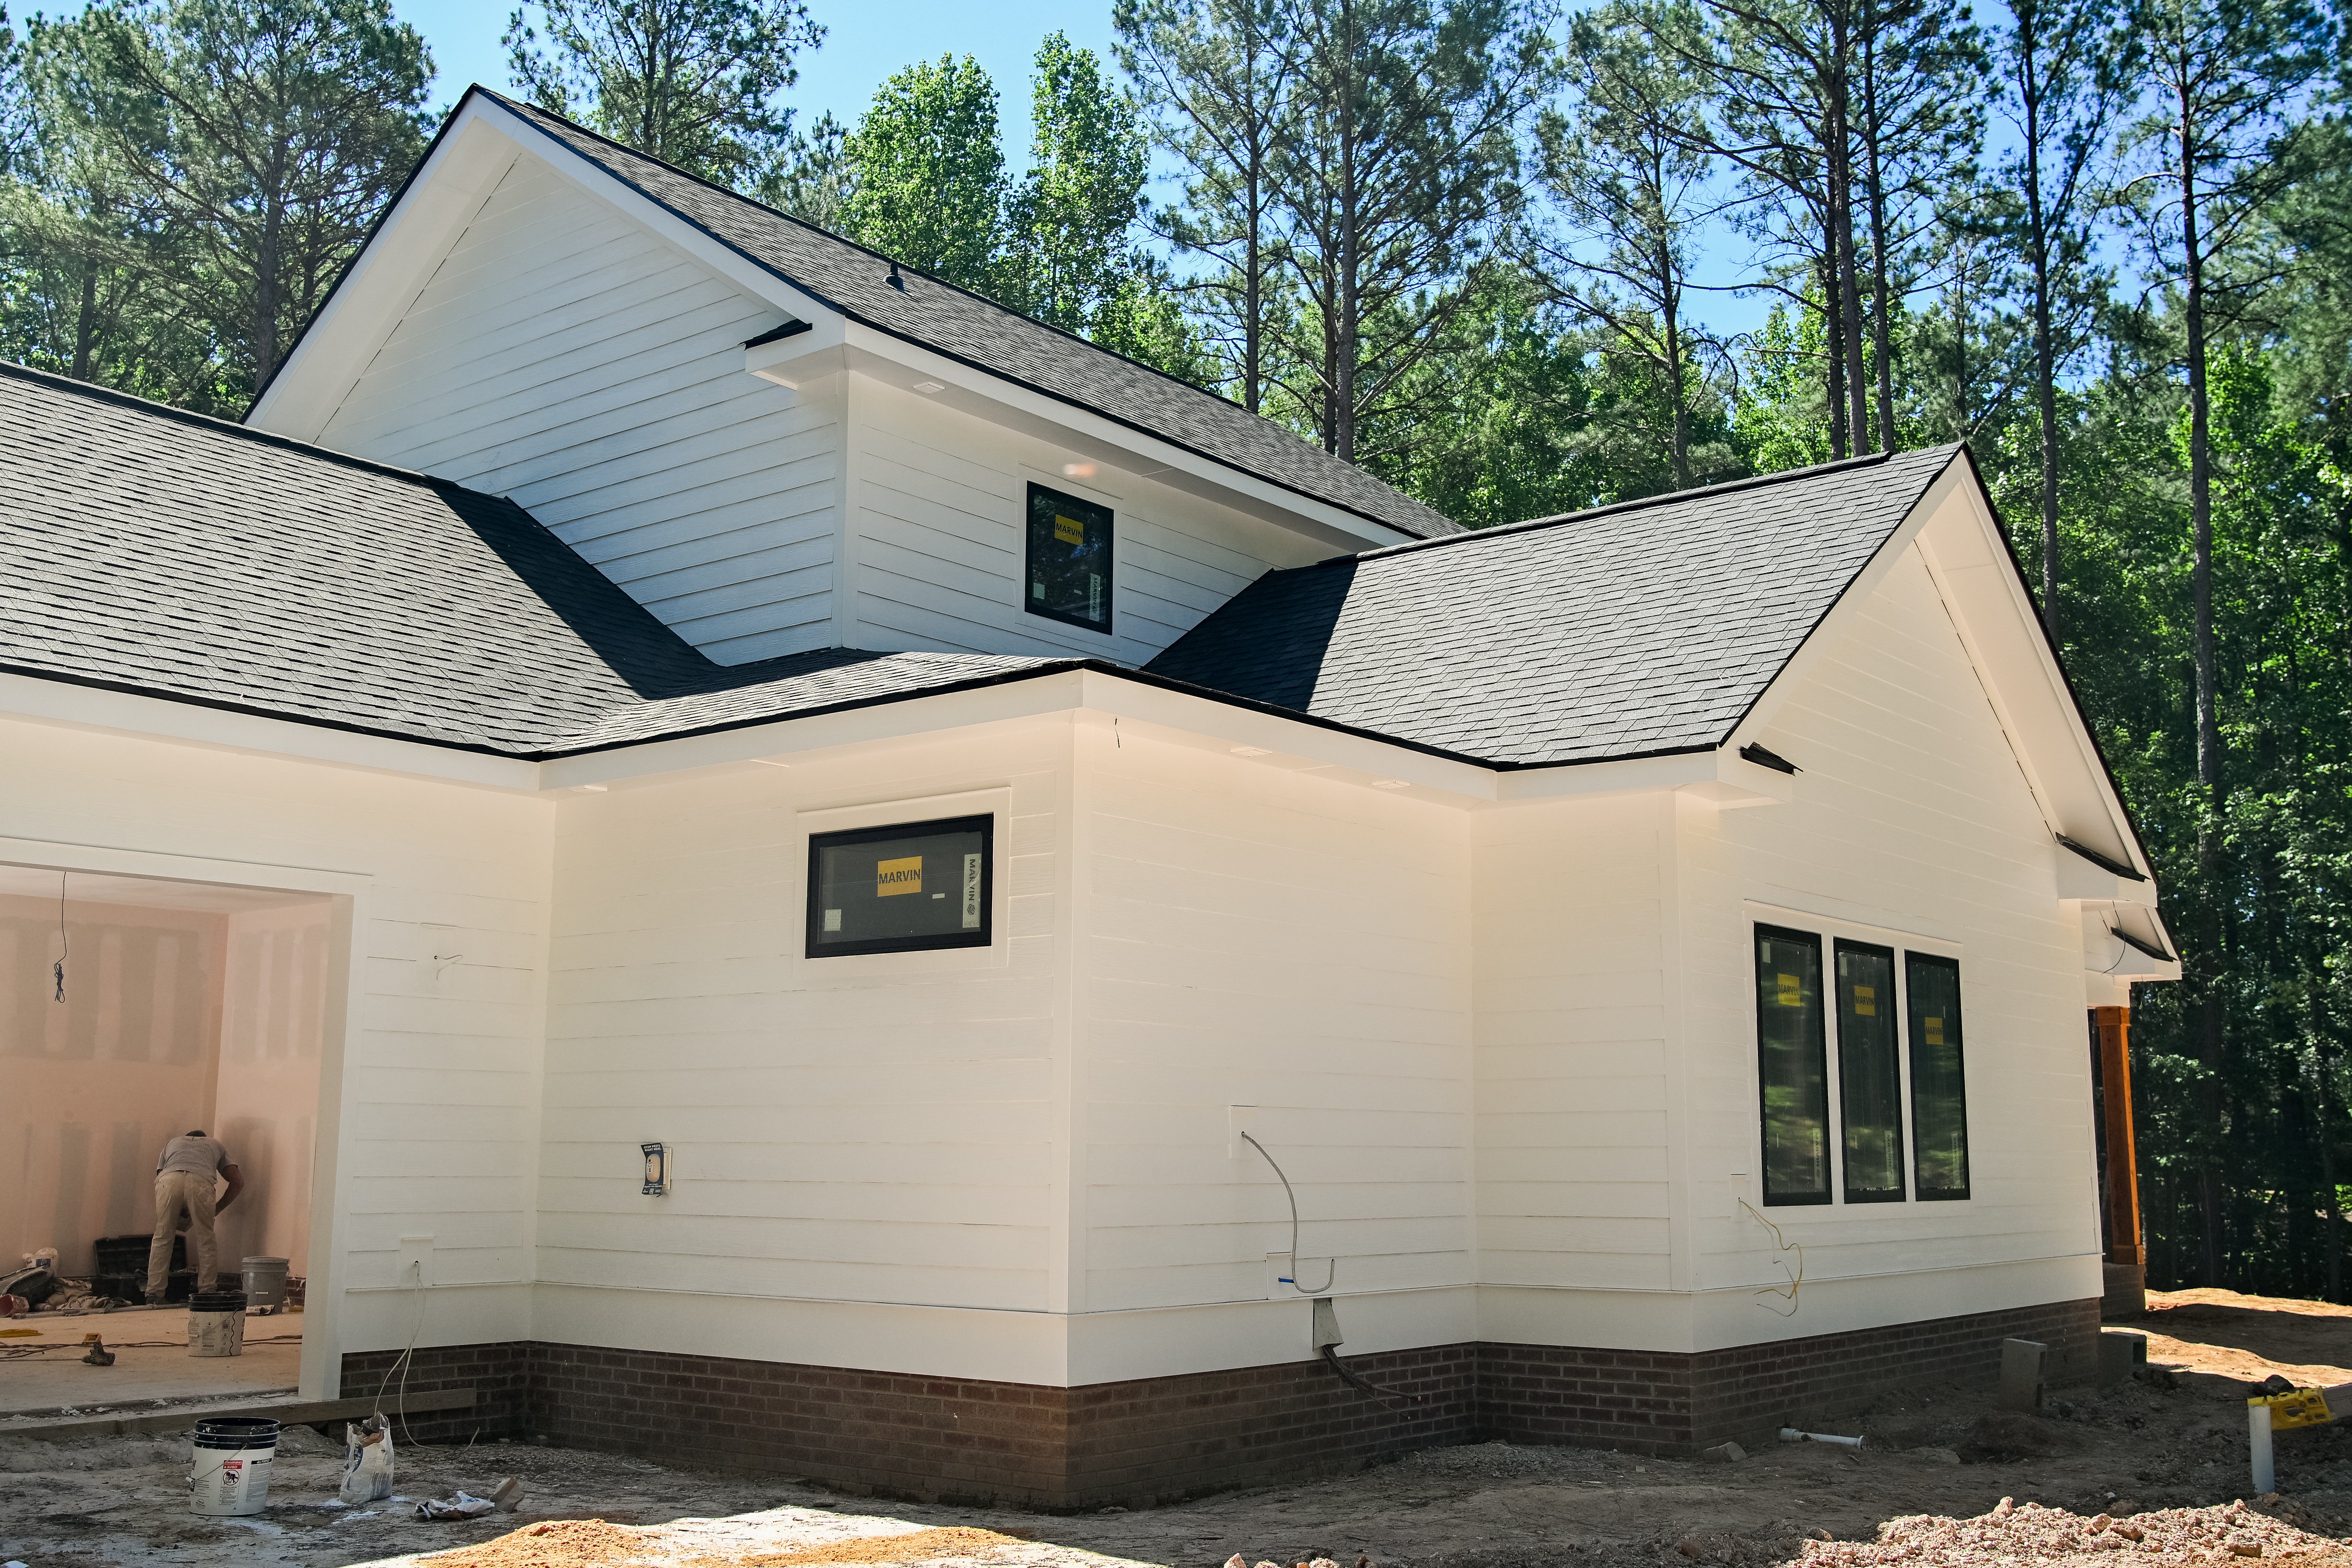
The difference between exterior paint that lasts 3 years and paint that lasts 15 comes down to prep, primer, and coat count. Here's the process professional builders use.
Walk through any neighborhood in the Fayetteville area and you can tell the difference between an exterior paint job that was done right and one that wasn't. Peeling corners. Chalking surfaces. Paint failing at caulk joints within two or three years. Bad exterior paint isn't just an aesthetic problem — it's a moisture management failure that can lead to rot, siding damage, and expensive repairs. After painting dozens of custom homes across North Carolina, South Eastern General Contractors can walk you through exactly what a quality exterior paint process looks like from the first scrape to the last coat.
Why North Carolina's Climate Makes Exterior Prep So Critical
North Carolina's climate is genuinely challenging for exterior paint. Fayetteville sits in a humid subtropical climate zone — hot, humid summers, moderate winters with occasional freeze-thaw cycles, and a UV radiation load that's significantly higher than northern states. This combination means paint that wasn't applied over properly prepared surfaces will fail faster here than almost anywhere in the country.
Moisture is the enemy. Paint applied over damp wood, inadequately primed fiber cement, or surfaces with existing paint adhesion failures will peel. UV radiation breaks down organic binders in exterior paints. Temperature fluctuations cause substrates to expand and contract, working paint loose at seams and joints. None of this is a problem if the application process is done correctly — but there are no shortcuts that work in this climate.
Step 1: Surface Preparation
On new construction, surface prep means confirming the substrate is dry, clean, and ready to accept primer. For siding (whether HardiePlank, wood, or engineered wood), this means:
Verifying moisture content is within the siding manufacturer's acceptable range before painting. Fiber cement in particular should be at or below 19% MC.
Inspecting all seams, butt joints, and penetrations for proper caulking. Uncaulked or poorly caulked joints will allow water infiltration that will pop paint from inside out within 1–2 seasons.
Ensuring corner bead, window casing, door casing, and trim are properly installed and nailed off — paint can't bridge gaps in trim installation.
On repaints, surface prep is more intensive: scraping any failing existing paint, sanding to feather edges, pressure washing with appropriate cleaner for mildew if present, and spot-priming repaired areas before full primer coat.
Step 2: Caulking All Joints
Before primer goes on, every butt joint, window surround, door surround, and material transition must be caulked with a paintable, flexible exterior sealant. This is one of the most important and most commonly rushed steps in exterior painting. The caulk creates the moisture barrier at every joint that the paint can't create alone.
On custom homes, we pay particular attention to:
Where siding panels butt end-to-end
Where siding meets trim (window and door casings)
Where siding meets foundation or brick transition
Penetrations for outdoor lighting, outlets, hose bibs, and HVAC line sets
High-quality 50-year paintable caulk is used throughout. The $2 tubes from the bargain bin harden, crack, and fail within 2–3 seasons in North Carolina heat and UV.
Step 3: Primer
Primer is the foundation of any long-lasting exterior paint system — and it's the step that production painters skip or under-apply most often. The right primer depends on your substrate:
Fiber Cement (HardiePlank, etc.): Requires a premium acrylic primer formulated for fiber cement. Many fiber cement products come factory-primed, but only one coat. A full field-applied prime coat over the factory primer dramatically improves adhesion and topcoat performance.
Wood and Engineered Wood: Oil-based primers penetrate wood grain better than water-based, providing superior adhesion and stain blocking for knots. Where VOC regulations or drying time requirements preclude oil primer, a high-solids acrylic primer is acceptable.
Trim and Columns: Trim boards and columns take more abuse — physical contact, sunlight exposure, moisture from rain splash — and benefit from a dedicated trim primer that builds a harder, more abrasion-resistant base for topcoat.
Step 4: Field and Trim Paint Coats
For a quality exterior paint job on a custom home, two topcoat applications over primer is the minimum standard. One coat over primer leaves a film that's too thin to provide adequate UV protection and weather resistance. Here's the sequence:
First topcoat: Applied to full coverage, all surfaces — field, trim, columns. This coat builds the base color and begins the protective film.
Inspection between coats: After the first topcoat dries, look for holidays (missed spots), coverage issues, and any caulking failures that showed up once paint was applied. Address before second coat.
Second topcoat: Final coat builds full film thickness, evens out any first-coat texture variations, and brings the paint to its fully cured color depth.
Columns and Trim: Where Quality Shows
Exterior columns — particularly exposed wood or composite columns on covered porches — deserve extra attention. They're exposed on all four sides, often in direct sun on south- and west-facing elevations, and they're subject to physical contact that field siding isn't. On custom homes, we typically paint columns through all four sides in sequence, with full back-priming on any raw wood surface (painting the side that faces the structure, which often goes unpainted on production builds and leads to moisture-driven peeling from inside).
Fascia boards, soffits, and rake boards are often the first exterior paint failures on homes where they were painted with single-coat coverage. These high-exposure surfaces need full prime-plus-two-coat systems, with caulking at all penetrations where roof flashing, gutters, and vents penetrate the fascia.
Color Choice and Sheen Selection
On custom homes in North Carolina, a few considerations guide color and sheen selection:
Light vs. dark colors: Dark colors absorb more heat, which can accelerate paint breakdown and cause more expansion-contraction cycling in wood and fiber cement substrates. In North Carolina's summer heat, very dark colors on south-facing elevations may shorten topcoat service life.
Sheen for trim: Semi-gloss on trim provides better washability and a harder film than eggshell or satin. It also provides a classic contrast with flat or satin field siding.
Premium exterior formulations: Paint brands matter on the exterior. Premium exterior formulations from Sherwin-Williams (Emerald or Duration) or Benjamin Moore (Aura Exterior) contain higher binder content and UV-blocking agents that genuinely extend service life compared to contractor-grade paints — the difference often justifies the price premium.
How Long Should Exterior Paint Last?
A properly executed exterior paint system — right substrate prep, full prime, two quality topcoats — should last 10–15 years on most surfaces in North Carolina before a full recoat is warranted. Some surfaces (shaded north elevations) may go longer; south-facing surfaces in direct sun may need attention sooner. Touch-up caulking every 3–5 years extends the paint system's effective life significantly.
If you're seeing paint failure in 3–5 years, the root cause is almost always prep — inadequate surface prep, skipped or underbuilt primer, single topcoat, or caulking failures that let moisture get behind the paint. It's not the paint; it's the process.
Ready to start your project? Call South Eastern General Contractors at (910) 565-4719 or visit southeasterngc.com to schedule a consultation with our team.

South Eastern General Contractors
South Eastern General Contractors is a Native American-owned, 8(a) and HUBZone certified construction firm with over 21 years of proven results across Fayetteville, Lumberton, and the surrounding North Carolina communities. We build legacies, not just structures.
Ready to Build With Clarity and Confidence?
Your project deserves more than a contractor who just shows up and starts building. We guide you through a professional design-build process built around clear plans, detailed selections, documented scopes, and construction checklists that help eliminate confusion, mistakes, and missed expectations.
Other Blogs